lacto-fermented vegetables

Aged Fermented Thai Red Curry Paste

How to know when old ferments are still good? That is a question many of ask when we find a jar we didn’t remember we had. Lost and found ferments are real. We all have ferments that slip quietly to the back of the fridge where they get forgotten. In the spirit of full utilization and not wasting food I want to help you figure out what is still good (and maybe even tastier!) and what should be thrown out.

How a ferment ages depends very much on what kind it is. The original ingredients will determine a lot about its longevity. Miso and other bean ferments generally keep aging and layering on flavor. These may have a layer of mold growing on them but underneath they are still safe. Vegetables are quite variable in that they can still be technically “good” but no longer vibrant. I find a sauerkraut that is over a year old is generally of this ilk. Whereas a chile pepper based ferment has compounds in it that give it years of delicious longevity. Check the last post about creating hot sauce from old fermented pepper pastes. I also find herbal ferments like basil or shiso have a much longer lifespan do to the constituents that make these herbs antimicrobial. To learn more about fermentation methods head to Fermentation School.

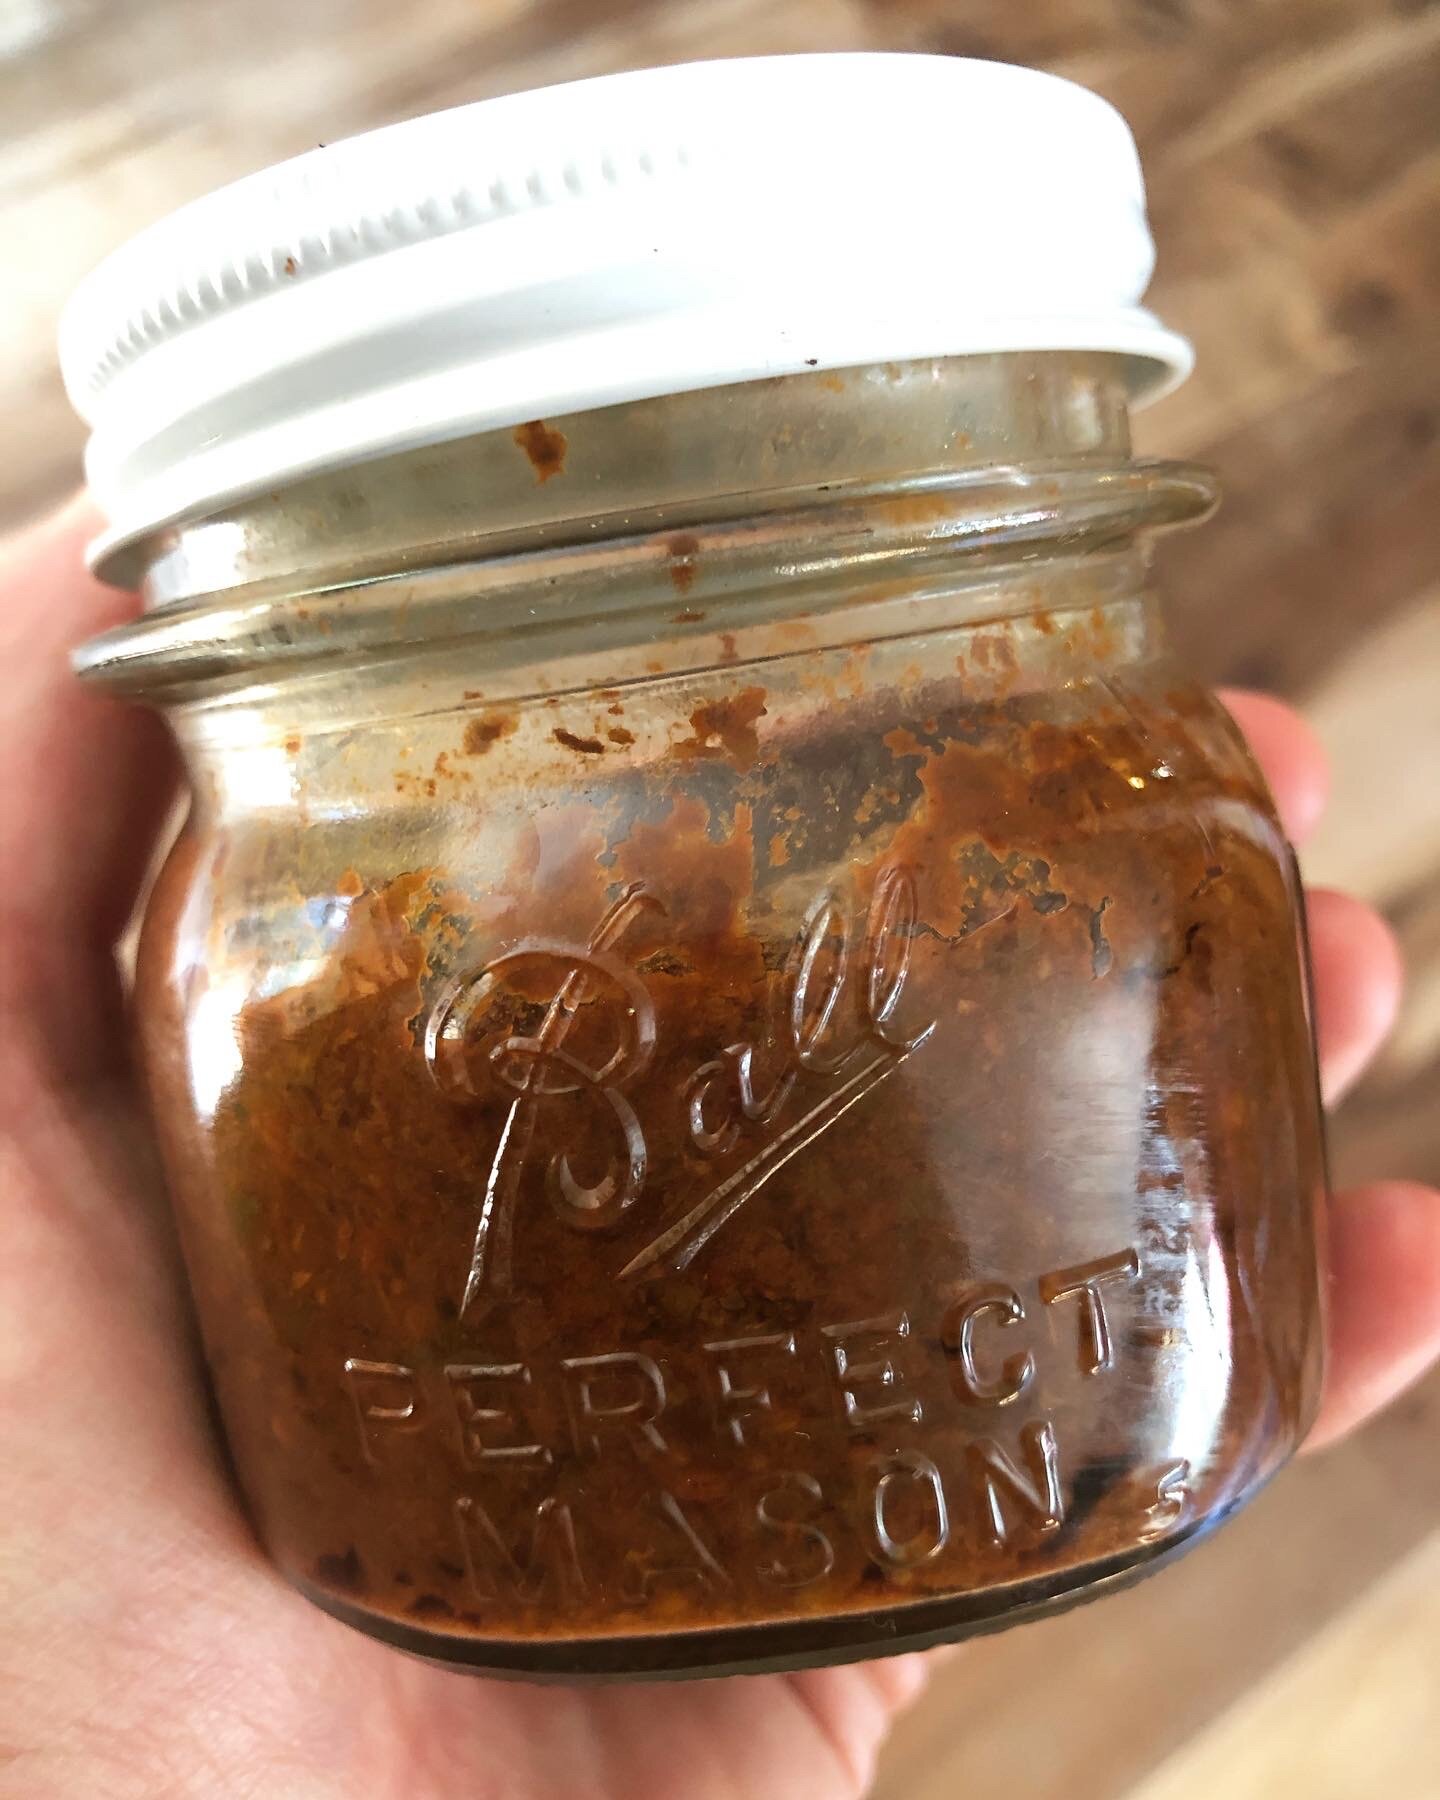
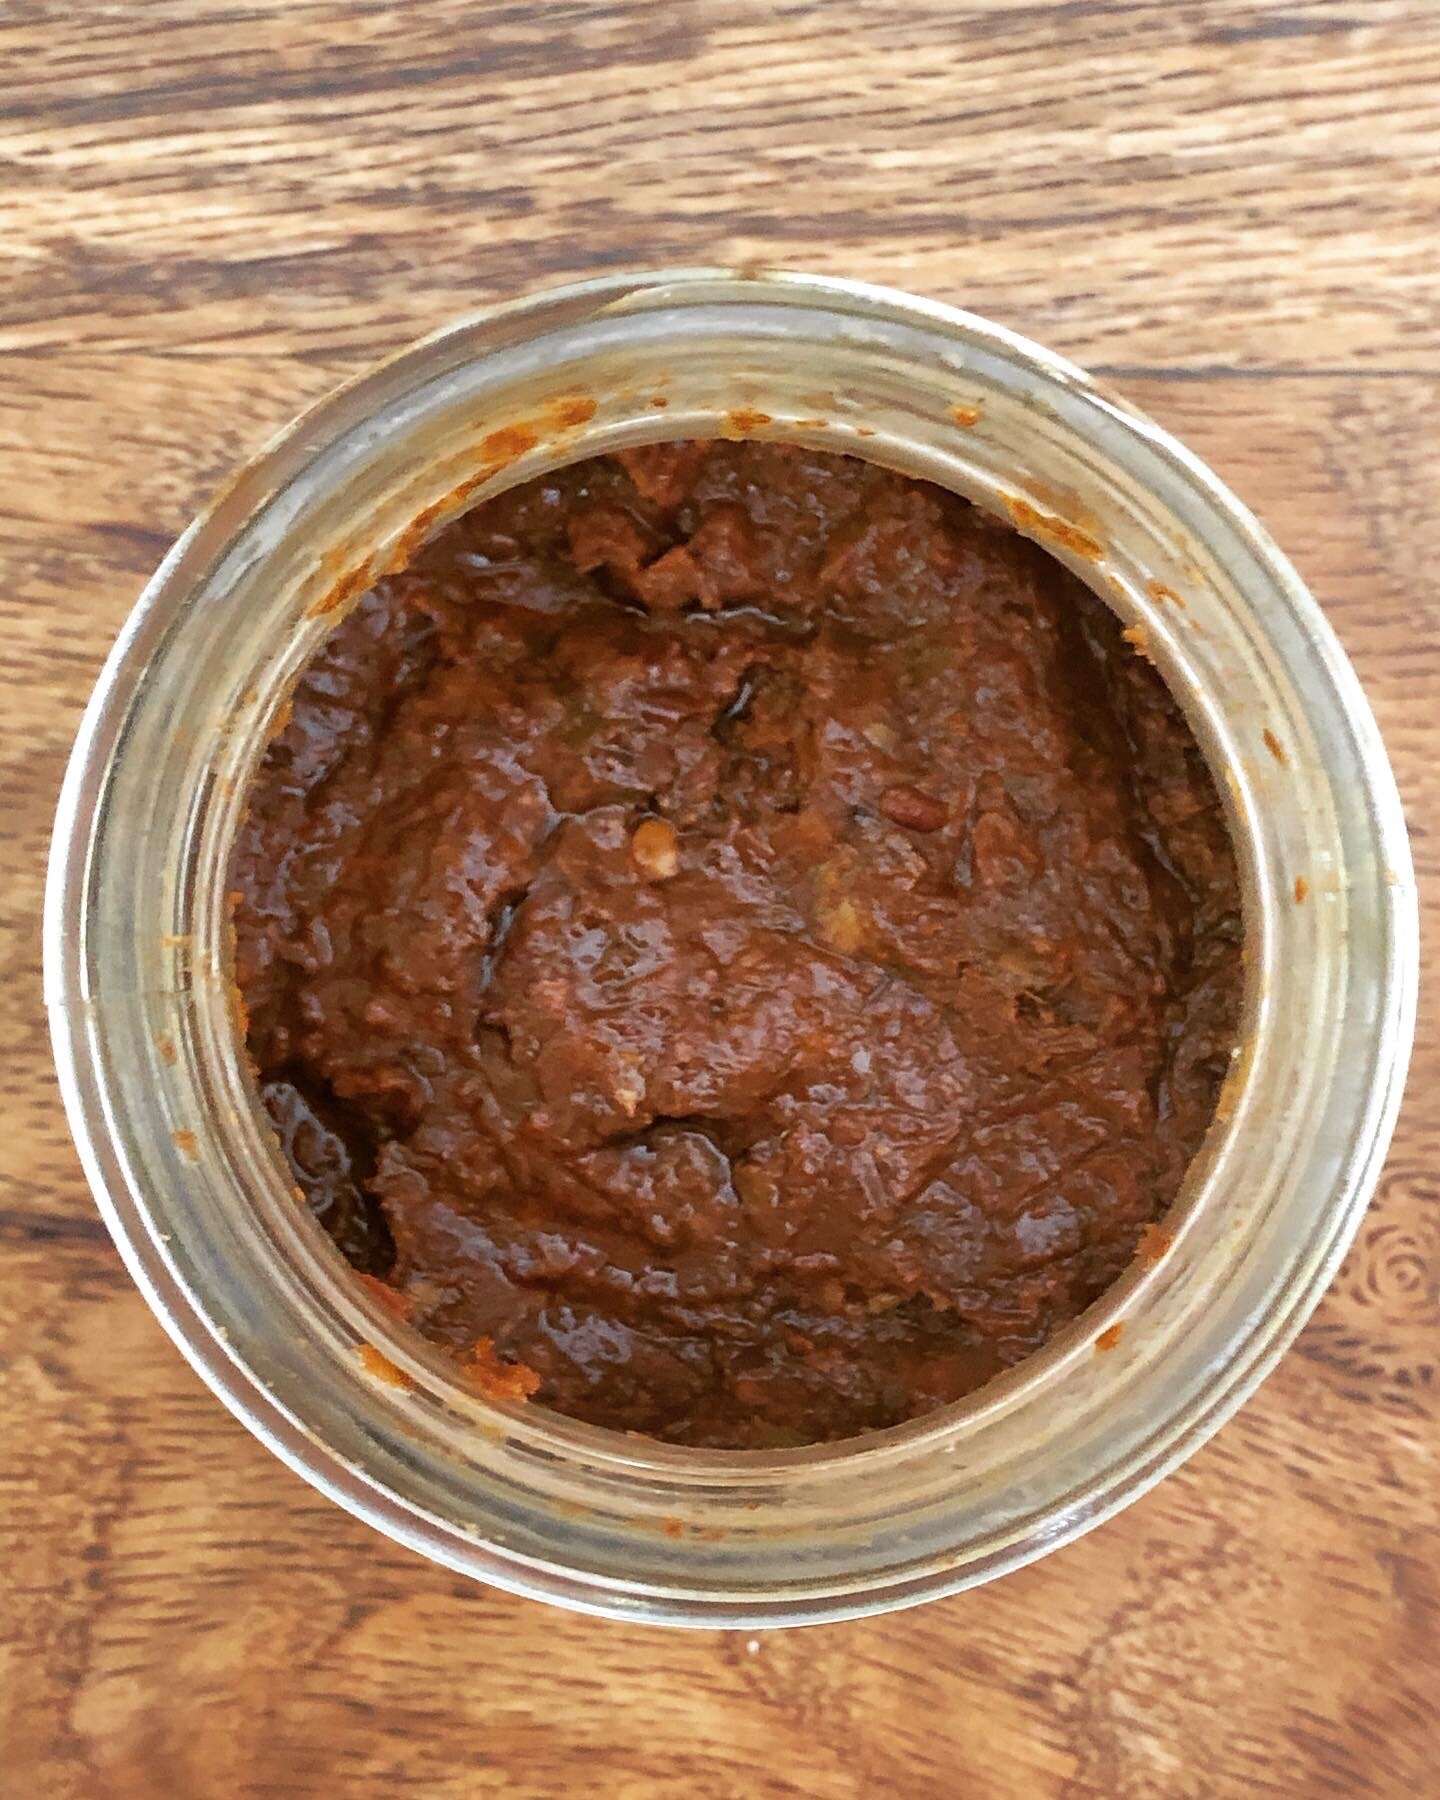
This fermented Thai Red Curry Paste is an example of a ferment that had both antimicrobial preservation ingredients and chiles. I found it recently in the recesses of the fridge. It was made in 2015. To be fair, not the daily fridge, one of the ferment fridges where things get “lost and found” often. This recipe is from Fiery Ferments and took inspiration from one of our favorite flavors and lacto-fermented it. Early in the ferment it doesn’t taste as good, it gets better with age.As the fermentation continued, the flavors blended and created a pleasing complex red curry flavor. So hence making it and putting it away for 6 months, um or 5 years. What do you do? Make curry. Below is the recipe for your enjoyment, go ahead hide it in the back of the fridge after it has fermented to discover later.

To evaluate your old ferment for “good” you will use your senses and trust your gut. Properly fermented the pH will have been below 4.0 this ensures that harmful bacteria will not live in the ferment. (You can test with a pH meter or test strips.) You will also know because it will be pleasingly acid — think pickles. If the ferment is still anaerobic (under the brine and no airpockets) then it is also a good sign. There may be yeast, even mold on top but that can be removed. As long as it is just on top and the rest is anaerobic it is fine. Then of course there is smell, does it still smell fine—not foul, putrid, musty or off? If so you can move to a small taste, this will give you a lot of information. It should taste fine. If it does not, then it is not.

RECIPE FOR FERMENTED THAI RED CURRY PASTE

Thai pastes are traditionally ground together with a mortar and pestle. We mention this because there is a texture difference: the fibers of lemongrass and roots don’t break down as much in a food processor, though the flavor will still be delicious.

3 tablespoons fresh lemongrass, chopped

1 medium shallot, or 4 tablespoons, chopped

9–10 diced Thai type small red chiles, deseeded, soaked, and drained

1/3 cup loosely packed cilantro, chopped, with root when possible

8 medium cloves garlic

2 tablespoons galangal, grated

1–2 kaffir limes (also called makrut limes,substitute regular limes if unavailable)

1/2 tablespoon kaffir lime zest (take care not to zest the bitter pith)

2 teaspoons kaffir lime juice

1 1/2 teaspoons salt

1. Process all the ingredients to a paste consistency in a food processor. Sprinkle in the salt. It will become juicy immediately.

2. Pack the paste into a jar that is just the right size for your ferment, leaving at least an inch of headspace, release any air pockets as you press it in. The thick brine will be hard to distinguish from the rest of the paste.

3. Press a piece of parchment paper (or other cartouche) against the surface, being careful not to trap any air beneath it. Screw the lid down tightly.

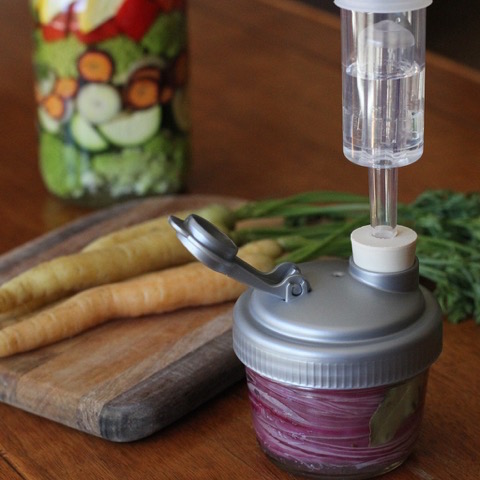
4. Put the ferment in a corner of the kitchen to cure, and watch for air pockets forming in the paste. If you see them, open the lid and press the paste back down. If the lid starts to bulge, simply open it for a moment to “burp” the ferment.

Tips for Fermenting Pumpkins and other Winter Squash

Fermenting pumpkins and other winter squash

You can make delicious fermented condiments with winter squash. You might ask why ferment winter squash? It keeps so well. The main reason is it is delicious and sometimes, if you’ve had an abundant harvest, you are sick of eating squash soup.

Way back, fermenting winter squash was one of our first forays moving beyond cabbage and basic kraut. Our neighbors grew beautiful blue Hubbard squash for seed. The organically grown seeds were the crop and the thick wall of rich flesh that surrounded the seed was the waste. We had our small farm-to-kraut company at the time and didn’t want to see all that organic food go to waste. So, we took buckets and buckets of cracked squash home and began to trial methods and flavors to ferment it.

We learned immediately placing cubes in a salt water brine and pickling them was not the way to go, which didn’t keep us from fermenting the whole jack-o-lantern this year. (As an aside here is a fun history of the pumpkin's roll in history and fairy tales. Including a mention of the pilgrims fermenting this squash into a pumpkin libation.)

While it might be too late for you to ferment your own jack-o-lantern this year, it is not too late in the season to ferment some winter squash.

Tips for making your own fermented squash recipe:

  •    For best results, choose winter meaty varieties of squash with the drier sweeter flesh—think Kobucha, Hubbard, Butternut. The lighter yellow, wetter flesh like pie/jack-o-lantern pumpkins and Delicata work but will leave you with a softer, wetter ferment.
  •    You can mix shredded squash with cabbage for a squash kraut.
  •    You can slice squash in thin slices and combine with other thinly sliced veggies.
  •    Dry brine for best results. This means using the salt that you add to the thinly-sliced or grated vegetable to get the brine, not adding brine made with salt and water. We like to use a 1.5%–2% salt ratio by vegetable weight for fermenting squash. This means for 3 – 3 ½ pounds of squash you will use a tablespoon of fine salt. In warmer climates, you may even have to boost up that ratio a little bit more. *Remember salt helps control the ferment, it helps keep the crisp and slows down the fermentation in warm weather.
  •    Use smoky, warm, and earthy spices—chipotle, turmeric, ginger—to compliment your creation.

Here’s a simple chutney to get your creative ideas flowing. If you make something wonderful we love to hear about it. Share on the comments or post on Instagram and tag us @ferment.works.

Squash Chutney

Makes a quart

4 cups shredded winter squash

1–2 tablespoons salt

½ cup raisins

2 cloves garlic, grated

1 tablespoon sweet curry powder

½ cup shredded carrot (optional)

Process in the usual way taking care to make sure the squash is submerged. Allow to ferment for one to three weeks. It is done when you smell that wonderful pickle acidity. You can store refrigerated for 6–8 months—if you don’t eat it first.


What is a fermentation airlock and should I use one?

In fermentation an airlock is a set up that allows the carbon dioxide gas created as the bacteria break down the sugars and starches to escape the fermentation vessel, without letting new air into the environment. They have been common standard equipment in alcohol fermentations but are fairly new to the lactic acid fermentation scene. This will talk about using an airlock with fermented vegetables.  There are many ways to achieve this airtight environment and it often involves a bit of water. The ceramic water-seal crocks were likely one of the first ways that humans figured out that a simple ring of water would trap the air.

Airlocks like the ones pictured above also use water as the seal. The carbon dioxide bubbles out through the water but the outside air can’t find a path back through the water and into the ferment. Simple ones like these have been used in alcohol ferments for years but as lactic acid fermentation has gained popularity many folks have adapted these to use on canning jars.

These systems take most of the babysitting out of the curing time during the fermentation. We admit to setting ferments in their air lock topped jar and forgetting them—with delicious results. That said, its only fair that you know all ferments have a mind of their own (just like kids). So while you think they are safely sleeping in bed, they just might be under the covers reading ghost stories with a flashlight. Then they get scared and there is a whole lot of excitement…same with the microbes.

If your ferment is particularly active and your jar is particularly full this moving brine may just bubble right out of your ferment. When the ferment appears to be “making” brine what is really happening is it is expanding due to the trapped carbon dioxide. This movement in the brine is sometimes called a “heave” or a “surge.” Therefor weights are another important piece of the worry-free ferment as they help keep the veggies in place during the most active phases of fermentation. We have found out ferments are infinitely more successful if we manage the air pockets. Even if the oxygen is not present and the vessel is completely sealed in these pockets the flavor can have a bitter quality if they aren’t pressed down. This brings us back to using small weights or simply opening your ferment as needed to press the veggies back down under the brine (with a clean utensil) before sealing it up again for more fermentation.

So, the second part of the title—should you use an air lock? The answer is it depends. It depends largely on you, your style, your setup, and your comfort level with fermentation. Fermentation is an ancient, very low-tech, and forgiving process, but it’s important to note that LABs (the friendly bacteria we talked about earlier) are happiest and most productive in anaerobic environments (again, ones without oxygen). Enter the airlock systems, which allow carbon dioxide to escape from your container, while keeping oxygen out—creating the anaerobic sweet spot needed to foment your ferment. This takes some of the babysitting out of the process, allowing you to forget about your jar a bit while the good bacteria process the fruits and veggies. While airlocks aren’t necessary, they can give newbies the confidence they need to get hands-on fermenting experience. They also made to fit nicely on any wide-mouth Mason jar, making them a cost-effective solution with a relatively small footprint.

It is important to note that not airlocks are foolproof. Though it’s unlikely, even with an airlock, scum (mold and yeast) can still make their way into the jar. We have built these troubleshooting pages just to help you out. If you want to master vegetable fermentation and feel confident in fermenting any vegetable with or without an airlock be sure to check out our fermentation masterclasses, especially Mastering Fermented Vegetables, where we look at all kinds of fermentation vessels and their pros and cons.