Five Ways To Make Sure You Will Not Go Wrong Fermenting Your Vegetables

A few of these ferments have some Kahm yeast on top--not to worry this is easily removed. The ferment underneath is fine! Tasty in fact!

A few of these ferments have some Kahm yeast on top--not to worry this is easily removed. The ferment underneath is fine! Tasty in fact!

All you have to remember is to salt and submerge. We like to tell people, “Sinking in brine conquers evil every time. 

1. Keep your ferment comfortable. If the temperature is too cold the bacteria cannot eat and multiply fast enough to acidify your vegetables properly. (It is this acidification that preserves—not the salt.) If it is too hot they may work to quickly to do a good job.

2. Watch for the air pockets building as the CO2 releases. If your ferment looks like a glass of champagne you know it is time to press down the vegetables so that the brine surrounds the vegetables again. 

3. It should smell. But make sure it is a pleasing smell, like vinegar and pickles, not rotten like compost or rotting potatoes.

4. Scum happens. Maybe you see something growing on top of your ferment. This is where the air and oxygen are mingling with your ferment. Sometimes this can cause yeast or even mold to grow. Don’t worry. Just take this top layer off and throw it into your compost pile. Everything under anaerobic brine is safe and delicious.

5. Sometimes you will feed the worms and not your family. If something went wrong and you have air-pockets and stink and scum and maybe even slime throughout, just throw it out.  You will know it is bad—there is no question, all of your senses will tell you so. Most importantly, don’t worry; we all have unsuccessful batches now and then.  If you do, it's okay—don’t be afraid to try again. 


Preserving Mint with Fermentation

Fermented Mint and Ferment'n Home Fermentation Kit

The idea of foraged and found ferments has been on my mind a lot lately. I have been experimenting with more and more wild ferments in my own corner of the world while out there my global Internet buddies are doing the same. Colleen Codekas is working with cattails and Annie Levy is also experimenting with foraged ferments.

Finding small nourishment from wild plants is seasonal eating at its finest. It is interesting to watch the plants (and animals) and see how they react with the subtle changes in seasonal conditions. A good friend of mine spent a lot of time rehabilitating the creek on her property (translated this means a few years of tenacious blackberry removal.) I watched as the native plants came back to the land—trillium, California spikenard, hedge nettle, cleavers, and many others. One summer we were inundated with thick smoke from forest fires for over a month.  It was then that she noticed that the coltsfoot completely disappeared. She then observed a lone squirrel inside a thicket of willow stems tearing off small strips of the coltsfoot leaves and eating one after the other. Herbal medicine recognizes coltsfoot as a lung herb.

Our days have been unseasonably hot this summer and hovering around 15° F above normal—today it will be 108° F. (We live in Oregon not the Sonoran Desert.) Luckily our mountain mornings are still cool if we get up early enough. We do our chores and any gardening before breakfast. Recently, I was back inside bracing for another scorching day when Christopher came into the house like a cool minty breeze—literally. He had been out foraging for the goats* and had tramped through a patch of wild mint. That smell reminded me of the cooling nature of mint. Mint is refreshing and finds its way into many cuisines where the climate dishes out heat.

As soon as breakfast was consumed I went out to the small spring fed riparian area below our house and picked a basket of mint. It has been fermenting for two weeks and is now finding its way into all sorts of cool no-cook meals—most recently a chilled cucumber yogurt soup. Without further ado I present you with a recipe for fermented mint leaves.

Fermented Wild Mint
Makes about a half pint

Find wild mint along water ways; if you don’t have access to that, garden mint works just as well. The most important thing is that the mint has not begun to flower. Be sure to use the larger leafed mint (link) and not the small leafed wild pennyroyal (link), which can be toxic. The other thing about the wild mint that I have been using is that it is drier and the leaves did not release enough water to even dissolve the salt properly—hence the brine. 

8 ounces mint leaves, stems removed
½ teaspoon salt dissolved in 1/8 cup of unchlorinated water

Roughly chop the mint leaves and add salt-water solution. Massage this brine into the leaves (your hands will smell great) and allow to sit in a bowl, covered for about a half hour to work out more brine. 

Press into a jar. Top with a ziplock bag, or pack tightly into a small jar for the burp method, or use your favorite fermenting system. 

This will need to ferment about 2 weeks. You will know it is ready when the mint has turned color from the bright dark green freshness to a dull dark green, as in the photo above. It will taste lightly acidic. Refrigerate when ready to store. It will keep for at least one year. 

The ferment kit pictured here fermenting the mints appears to no longer be available.

*I know that sounds a little crazy but when we are on top of things we stack functions, in other words we feed our goats the blackberry canes that are always threatening to hide our fences and choke our waterways. It is better food for the goats than baled hay and helps us keep up with the blackberries an armload at a time. It’s also important to note we are not homestead overachievers we are generally not that organized.


Fermented Nettle Kimchi

The morning after...nettle leaves soaking in a brine bath overnight—ready to become kimchi.

The morning after...nettle leaves soaking in a brine bath overnight—ready to become kimchi.

Living as we do on land at the edge of wilderness, has infused a much closer relationship to the rhythms of the year and subtleties of each individual season. This year, for example, our landscape donned the growth of spring a full month earlier. An important early harvest is the wild nettles that grow in a patch along the creek that runs through our property. Nettle kraut is a standard favorite and it is easy to stick to what I know we love. This year I knew it was time to do something different. On a bright morning Christopher and I headed to the creek with snips, a basket, each wearing long sleeves and good gloves. 

I find harvesting nettles thrilling (maybe we’ve lived out here too long); on this day there was extra excitement. As we walked through the thicket of young cedars we happened upon two freshly killed wild turkeys; one was half-eaten, the other was still warm. It was the middle of the day and we wondered what predator we might have scared off—likely a coyote. However, we do live in cougar country and when we got to the nettle bed there was a trampled down area that looked as if something of significant size had been bedded down there. There was an unmistakable odor of cat and suddenly the nettle patch seemed much less benign. As I cut nettles, Christopher surveyed the trees towering over us for a large kitty. I doubt there was a cougar anywhere near, but once our minds imagined there might be, the activity became extreme foraging.

I decided to make a pure nettle ferment and a kimchi-style ferment (and a nettle kraut just in case).  We were pleased with the results of both new ferments.


Nettle Kimchi

Yield: About 1 pint

Nettle kimchi is delicious in the magic pungency that is created by the combination of garlic, ginger and chiles, and yet the nettles hold their own. This recipe requires a little advanced thinking as the nettles are soaked overnight. Nettles grow in the early spring. If you are gardener and have a patch of garlic greens add them to the mixture. And remember to use your glove working with the nettles; they still can sting after sitting at room temperature in salt water for 10 hours.


About ½ pound of nettles, the first 2 – 3 rows of leaves still attached to stems

Soaking brine 
½ cup salt
2 quarts unchlorinated water

Kimchi mixture
 4 green onions, sliced crosswise in ½ inch pieces
1 tablespoon fresh ginger, ground or minced
3–4 cloves garlic
1–2 tablespoons chile flakes or gochugaru powder 
    Note: As always, adjust the spiciness to your palate. Also the gochugaru is not as hot at the chile flakes and may require more for desired heat.

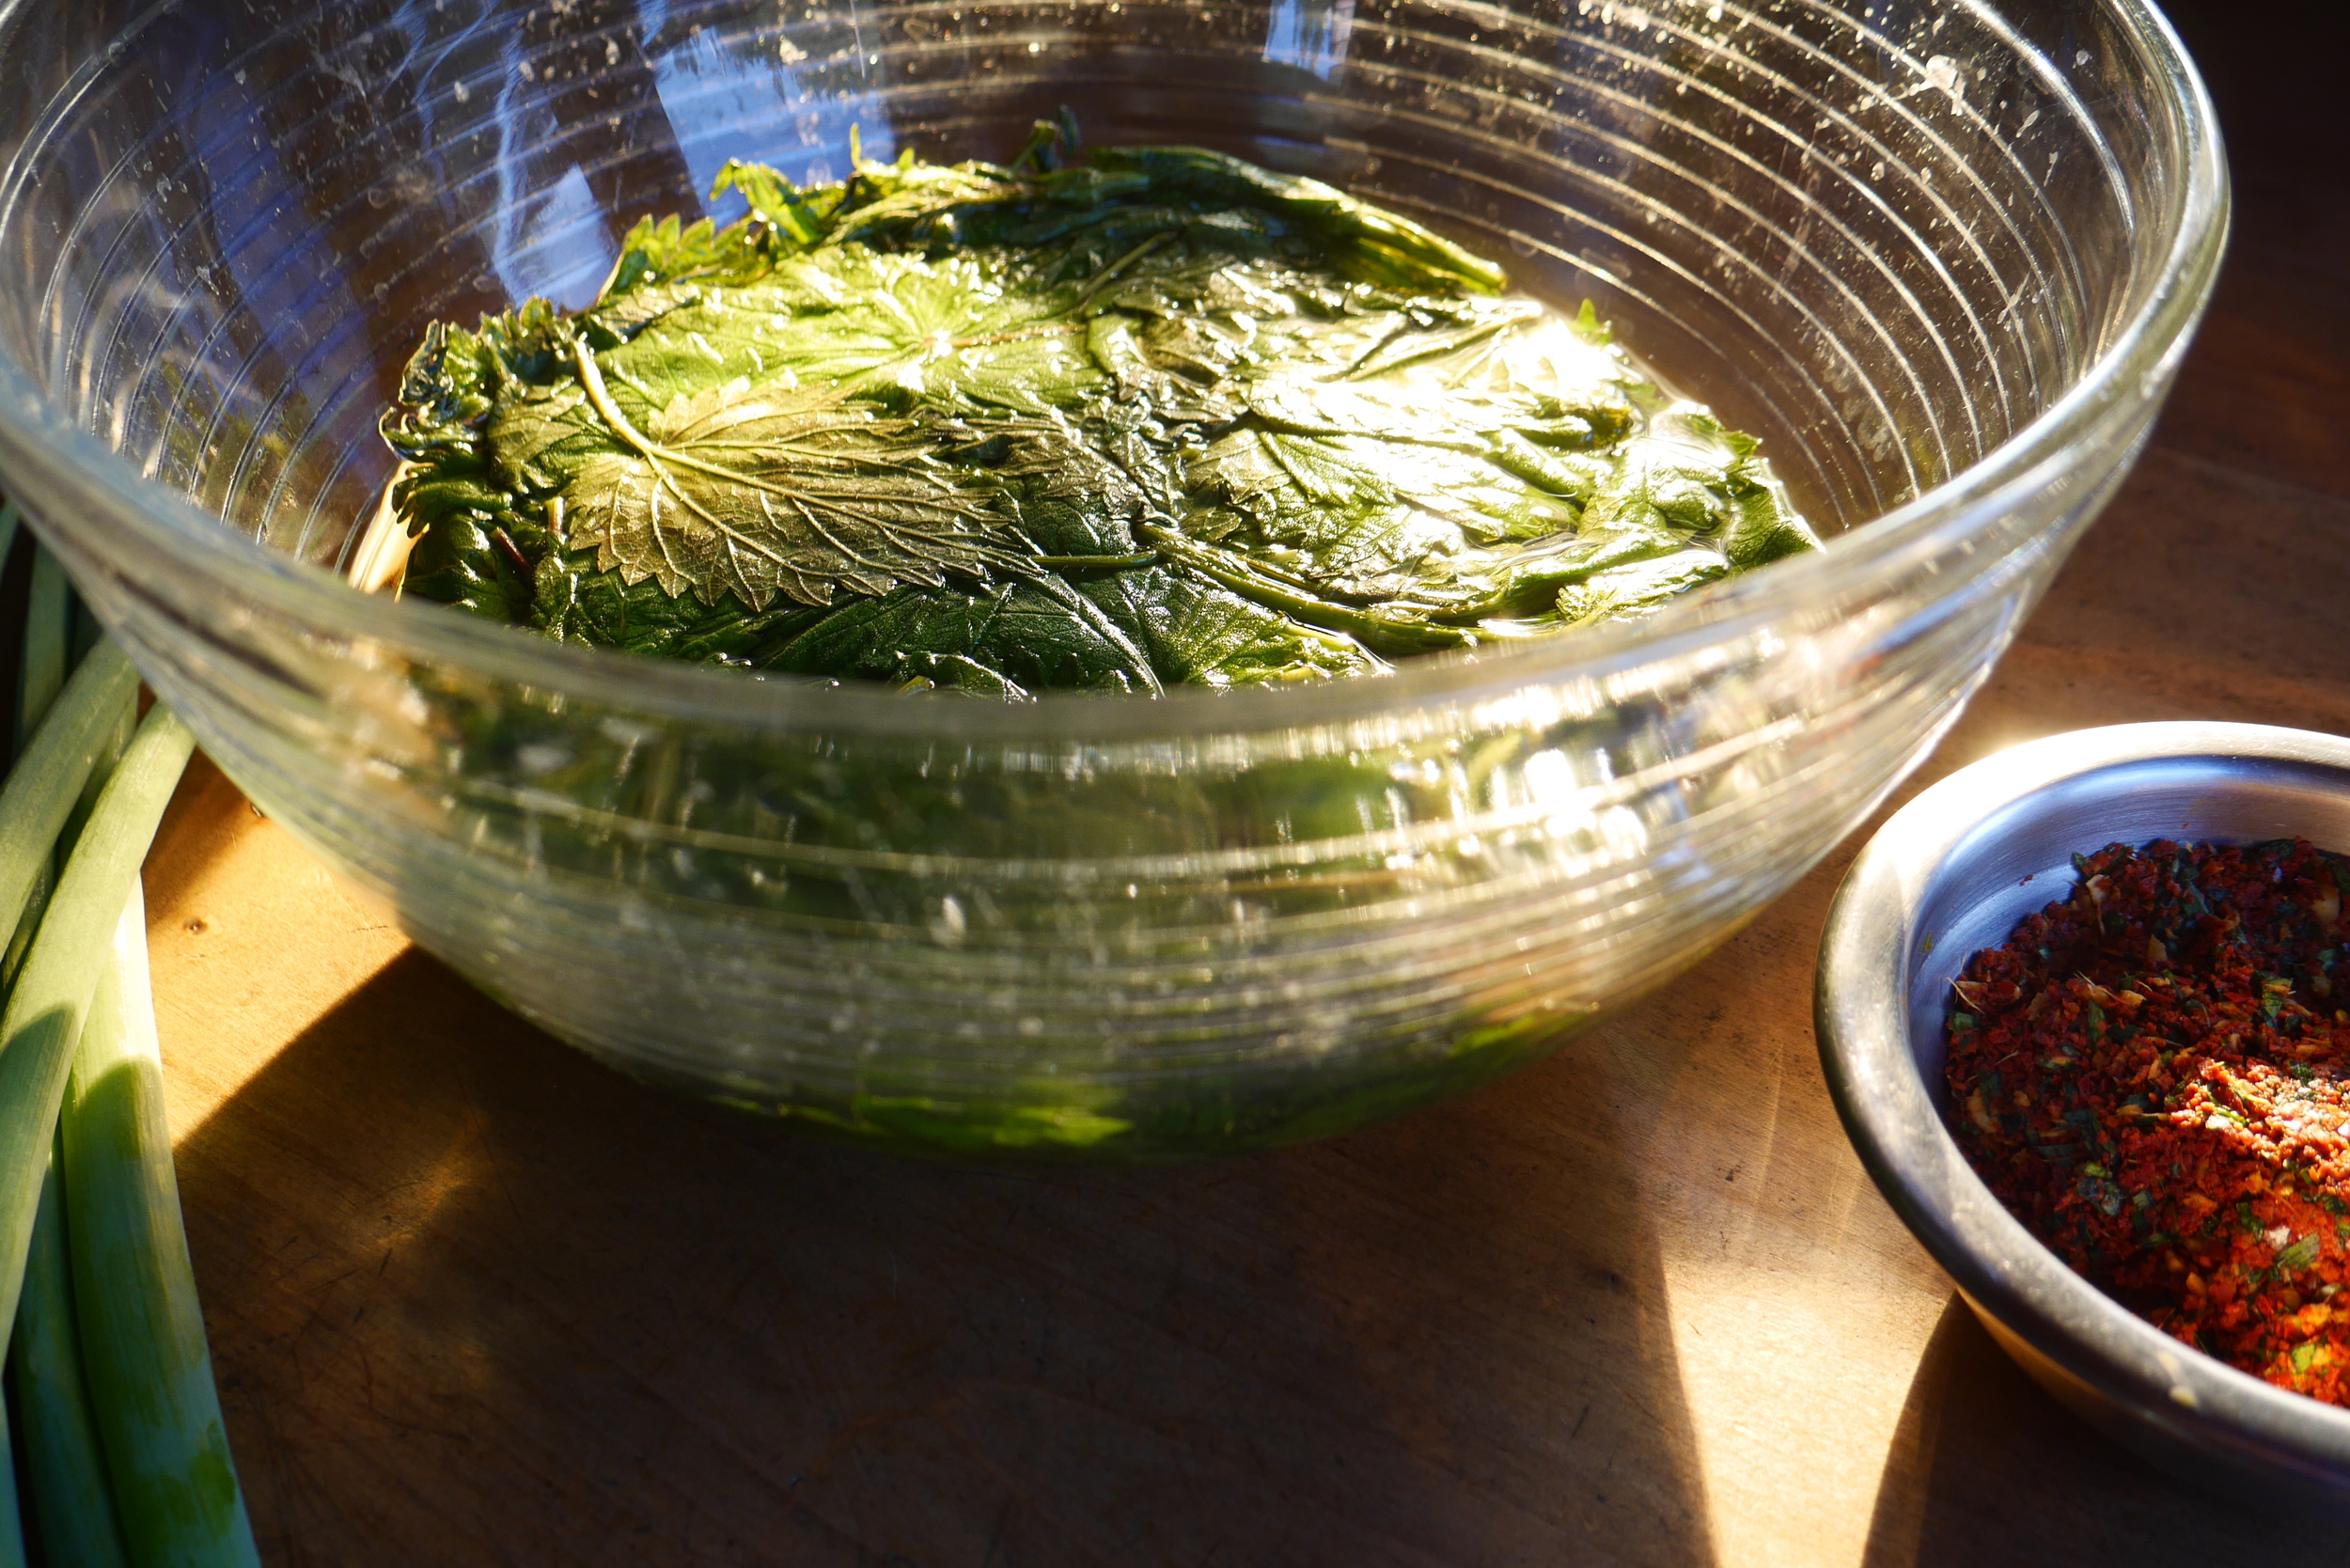
In a crock or a large bowl, combine the brine ingredients and stir to dissolve. Rinse the nettles in cold water then immerse in the brine solution. Use a plate as a weight to keep the veggies submerged. Set aside, at room temperature for 6–8 hours. 


Using a colander set over a large bowl, drain the nettles reserving the liquid. Combine the ingredients of the kimchi mixture, blending thoroughly. Set aside. The nettles will clump together. Take this whole clump and roll it up to cut crosswise into 1 – 2 inch pieces and put it in a large bowl. Massage in the kimchi mixture.

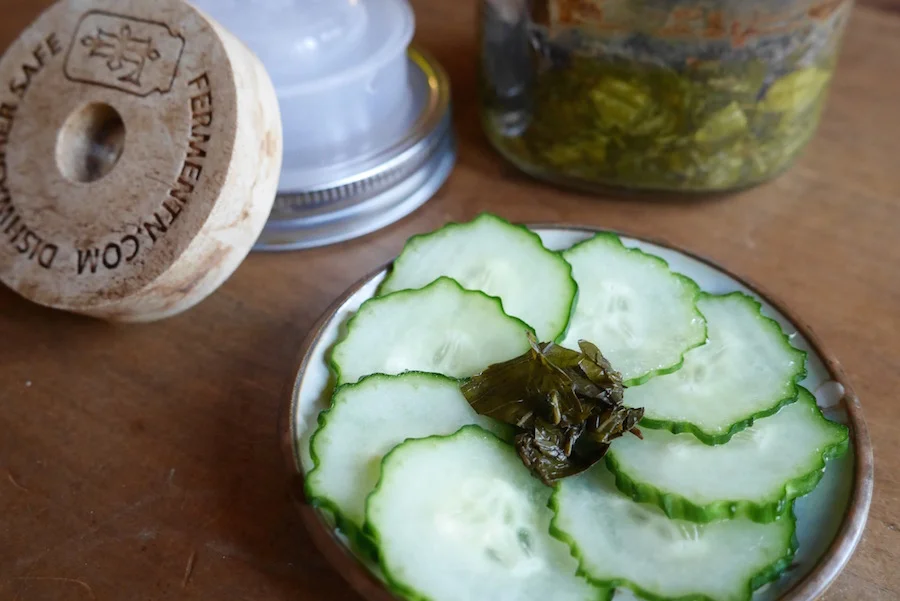
Follow the instructions for the type of fermentation vessel you are using. If using the simple jar method select a mason jar with a tight fitting lid that is sized appropriately to the amount of mash. Place the mash inside the jar leaving about an inch of airspace. Add reserved brine as needed to make sure the ferment is juicy and veggies stay submerged. Tighten lid. Set aside, somewhere nearby and out of direct sunlight, in cool spot, for 10 – 14 days. 

Check daily to make sure there aren’t CO2 bubbles developing and that the vegetables are submerged; simply press down as needed. If using a plain jar, burp once a day or more often if you see pressure under the lid. Using a utensil, test the kimchi on day 10. You will know it is ready when the flavors have mingled and the pungency is pleasantly fused with acidic tones. The red color will have gotten deeper while the green of the nettle leaf turns a translucent brown khaki green color.

You can let this sit another week in the refrigerator with the lid on to allow the flavors to continue to develop.  This will store in the refrigerator for 8 – 12 months.

What came first, the ferment or the pot?

Traditional style fermentation crock made by Jeremy Ogusky. The lid on this design functions as a follower and must be weighted with a water filled jar and topped with a cloth. If you shop talk to Jeremy about the lid style that best fits your needs. 

A few lucky folks are given a fermentation crock as a gift and they think, hmmm, maybe I should try this thing called vegetable fermentation. They often end up at our classes (or learning with our book at their side). However for most of us, when the fermentation bug hits, the first thing we do is find a vessel—a jar or a crock. This often means a visit to the local kitchen store or online shopping. For Jeremy Ogusky, a Boston potter, this wasn’t an issue. He simply made himself a crock. (Who doesn’t wish they could do that.) He then made a few more for friends and family. After awhile a tiny housewares company, Williams-Sonoma, contacted him and offered to contract with him for hand-thrown clay crocks. You can watch him here.  He said yes and realized this is fermentation’s moment to shine. Instead of just sitting in the studio turning out hundreds of crocks, Jeremy leapt into the brine—championing fermentation as well. 

When I spoke to Jeremy what struck me most was his intense interest and skill in collaboration and connections. Fermentation pulls people together. Jeremy found the paths of folks with very different interests intersecting with fermentation.  When he explained this I imagined roads—the thought paths of science, health, food lovers, food makers, artists, farmers, preservationists, urban homesteaders, DIY—converging from all directions at a giant handmade clay crock of fermented vegetables. (A bit like all the roads that led to Rome.)

For the past five years Jeremy has cultivated his role as a thought leader in the fermentation renaissance by collaborating with many folks around Boston to bring this delicious food to the forefront. He is responsible for the group known as Boston Ferments which started out as a loose band of fermentation enthusiasts and has grown to a group that hosts the Boston Fermentation Festival, fermentation workshops, fermentation themed dinners in restaurants, and Kraut Mobs. (Yes, “mobsters” show up at farmer’s markets or food festivals with 50 pounds of cabbage, cutting boards, knives, bowls, salt and jars and invite people to make sauerkraut.) 

For Jeremy, who's first career path was public health, the clay work blends well with his interest in nourishing food. He is interested in the intersections of his own work with clay and fermentation. Clay working is one of our oldest crafts—born solely for function, vessels in which to cook, serve and store (or preserve) foodstuffs. You can see where this is going. If fermentation is one of the oldest methods of preservation, one has to ask what came first? Did we ferment once we had pots or did we create vessels to help our fermentations?

Handmade stoneware began as utility but now it is often sold as art. As many of my readers know I appreciate functional art. I find that these fun and beautiful tools with a story inspire the food I create. 
 
On our counter, Jeremy’s faded denim-colored crock boldly proclaims, “ferment.” This is more than just a label of the contents within—this word also reminds us to slow down and take time. Find the comfort in allowing your ideas and projects, (or vegetables) to sit quietly before breaking out in a bubbling frenzy of creativity (or taste).


When your cabbage is dry? Sauerkraut brining flowchart

We believe the best sauerkraut (cabbage or other vegetables) comes from dry brining. What does that mean? Fair question since the whole point is to make brine in which to submerge the fermenting vegetables. Dry brining simply means creating the brine in fermentation by only adding salt and allowing the vegetable’s natural juices to create the important liquid. No water is added.

This usually works. Once in a while, you are faced with dry cabbages (maybe they were in cold storage too long) and it doesn't work. Oh, what to do? We have created this handy flow chart to help you when you are feeling there is just not enough brine to properly ferment your creation.

If you would like more help check out our simple course on making sauerkraut and pickles, safely and simply. Got your basic game down already? Maybe it’s time to progress to mastering the process.

Handy flowchart to help you make a delicious brine for your sauerkraut (and other fermented vegetables).

Handy flowchart to help you make a delicious brine for your sauerkraut (and other fermented vegetables).

Let’s walk through this flowchart, adding some hints along the way.

Start by shredding or slicing your cabbage, then adding the salt, but here is a hint. If all of your cabbage is in the bowl and you salt it and its too salty the flowchart says to add more vegetables. If you only want a cabbage kraut and aren’t interested in dropping in some carrots, onions or the like then don’t add all the salt you intend, then taste. If you don’t taste the salt you can continue adding but if you do you saved yourself heading out to the store for another cabbage before continuing.

How long to massage. In out experience the one getting the massage wants it to last longer than the one giving the massage but that might just be us. For the cabbage a perfect massage is until it starts giving up its water that just before had been locked up in its cabbage cells. Your shredding opened a lot of those up, your massaging continues the trick.

Sometimes there is a delay so that’s why the 30 minute rest break. If you still don’t see enough brine then its time to add some good brine or lemon juice. Why lemon juice? We want the acidity. That’s why we never just add some tap water, never.

Finally you pack your lovely creation away in a jar or crock and wait. When you pack one trick is to do it in layers, rather than just dumping it all in at once. Spoon in a layer, squish down, then repeat as you fill the container. You have a couple of options at this point before setting it on your counter and waiting for yumm.

Micro-fermenting :: Small Batch Vegetable Fermentation

Small batch vegetable fermenting followers. Note the veggies are submerged! Photo by Josh Ratza.

Small batch vegetable fermenting followers. Note the veggies are submerged! Photo by Josh Ratza.

Our collective stereotype for sauerkraut production comes from a different time and place—giant wood barrels or huge heavy crocks lining the edge of root cellars, that sour-krauty, pickled fragrance permeating the cool dark air. This mental image of what it means to make sauerkraut, while romantic in its self-sufficient, simpler time, homsestead-y way, is not how most home ferments are made. Most people do not want a committed relationship with five gallons of “sauering” cabbage.

It doesn’t have to be like this. Whatever the reason—a small kitchen, a small refrigerator, single or the single fermentation fan in the family, or simply the fun of experimentation and the desire to have a rotating variety of fermented salads in the refrigerator—small is beautiful.

And small requires certain considerations. Let’s start with the large crock of vegetables tucked away to ferment for three weeks—there is mass. This mass of the cabbage bulk helps keeps the weighted ferment under the brine. 

This isn’t how it is for small and tiny batches. They will need more baby-sitting. However, with a few management strategies your pint-sized ferment will work, it will be fairly easy and it will turnout delicious.

Keeping track of your brine

Because your ferment is small, it stands to reason you have less brine—remember this salty liquid is your kraut’s anaerobic armor. And keeping this brine in the ferment where it belongs will require a bit more attention while your ferment is curing. Often you will find yourself needing to press gently on your weight everyday. This will release the carbon dioxide bubbles that build up and bring the brine back into the ferment.

Submerging in brine: Conquers Evil Every time! This simple chant is all you need to remember to keep your vegetable ferments safe to eat. The rules for sauerkraut, kimchi and pickles apply to pastes, relishes, and other fermented condiments. To avoid a “krautastrophe” keep those veggies under the brine. Some of these condiments, like herbal ferments, have much less brine, but there is still enough. Other condiments like salsas or pepper pastes have so much brine that it is hard to keep the veggies from floating to the surface. In either case it is just a matter of managing the brine. 

The other challenge is simply weighing down the ferment. Small ferments require small vessels and usually this means the time honored mason jar. (We won’t talk about how many of these jars we own.) So you have salted and pressed your veggies tightly in the jar and you have left about 2 inches of headspace for the brine to expand (but not pour out) as fermentation happens. Now it is time to make sure they stay that way.  There are many strategies and many creative folks that have made air-lock lids for jars. 

The water-filled ziplock bag is a common method (explained in this previous recipe post) but about a year ago I discovered an alternative to plastic. Stoneware followers made for jars—whole (pictured for wide mouth jars) or split “stones" (for regular mouth jars). Josh Ratza has brought function and art together with the followers he designed for mason jars. Another potter with a unique weighting system is Mikael Kirkman.

Downsizing your recipes

We have found that to keep enough space for the follower, weight and brine it is best not to fill the jar to the shoulder. These weights are a guide to downsizing your ferment recipes and will keep your ferment in a good place. (Josh also includes a few small-size recipes if you buy his followers.) The salt quantities are 1.5 % of veggie weight, some people like a little more. A good rule of thumb is to taste it. You should be able to taste the salt. It should be pleasant and salty, but not briny like the ocean.

For a pint jar :: Use 3/4  pound of vegetables and 5 grams (or ½ teaspoon) salt.

For a quart jar :: Use 1  1/2pounds of vegetables and 10 grams (or 1 teaspoon) salt.


Hybrid Salsa :: Fermented and Canned

Home canned salsa has been a staple in our home for over twenty years. We usually make at least four dozen jars to last the year. We have used the same salsa recipe for as long as I can remember. Even though it is part of the fabric of our summer canning routine, our only copy is still a hastily handwritten recipe on the back of a scrap piece of paper. The paper is ragged and dotted with spills that span the seasons.

We have made several attempts at a fully fermented salsa, but those sweet sugary tomatoes just don't hold up for very long. To me, this fresh salsa ends up tasting like Pico de Gallo that got too old. We have continued to can salsa. (Interestingly, fermented tomatillo salsa preserves well and the flavors hold for over a year, but that is another blog post.)

We love this canned salsa recipe but have always wished it were thicker. Because of the lemon juice required for the low-acid vegetables, it has always been a bit watery. Last summer, as I made the first batch, I began to think about the lemon juice. Lemon juice provides the acidity to preserve the onions, peppers, and garlic, and insures that the tomatoes are acidic enough. I began to wonder—if I fermented the low-acid ingredients first, could I avoid the extra lemon juice? The two cups are a significant amount. I decided that next time I would try that. I checked the pH level of the “approved” recipe and put that aside. In a few weeks it was time to make another batch of salsa, so Christopher and I prepared everything but the tomatoes. We put this in a crock and fermented it for a week. When this pepper-onion mixture was ready, we prepared the salsa as usual. We tasted it and the flavors were balanced; the lemon flavor was not noticeably missing. Before jarring it, I checked the pH level and it came out the same as the original recipe, but the salsa was not the same. It was nice and thick.

This recipe makes 18 - 20 pints of canned salsa. These are processed in a water bath canner.  We are assuming, if you are interested in this recipe, that you have some experience in home canning techniques. If not check here. See the ferment and pickle pages at you can also download a PDF of the USDAs Complete Guide to Home Canning.

This recipe takes place in two sessions about a week apart. You will not need the tomatoes until after the rest of the ingredients have fermented.

7 quarts chopped tomatoes

4 cups chopped green chilies

5 cups onions, diced

½ cup jalapeños, diced

10 cloves garlic, grated

2½ tablespoons salt

1 tablespoon ground black pepper

2 tablespoons ground cumin

3 tablespoons oregano

3 tablespoons chopped fresh cilantro

Week one: Prepare all of the vegetables and spices except the tomatoes. Salt and place in a jar or crock to ferment for a week.

Week two: Prepare the tomatoes and place them in a large stainless steel stockpot. Bring this to a boil. Simmer the tomatoes for 10 minutes. Add the fermented veggie mixture and bring back to a boil. Simmer for another 20 minutes. Follow USDA instructions for hot-packing salsa and canning in a water bath.

Ladle into hot sterilized jars. Process the jars in a water bath for 20 minutes.

Pickle Babies :: Fermenting the season's end

Baby Pickles - From garden to brine, pre-fermentation

In the Siskiyou Mountains of Southern Oregon, the weather and I are dancing—two-stepping in and around the autumnal edge of the garden—the killing frost. A cloudy day means I can push cleaning out the garden one more night and one more day of ripening fruit. A clear sky in evening after a glorious fall day often means that frost will skitter across the landscape. Some mornings before sunrise I stand with the brittle chilled hose spraying ice-cold water on plants to abate the coming damage. Because of the terrain and waterways it has frosted a few times in the last week but not landed in the garden. Beyond a few cold singed high flung top leaves of the squash plants, the hard frost has not landed as a death blanket across the tender annuals. I still had time.

It is of course double edged like most things in life—oh please frost take out the endless stream of work, picking and preserving—but it is also the end of homegrown warm season bounty. Often, even the years when I don’t think I can possibly pluck another morsel, lift another crock or empty a steaming hot canner, the threat of frost spurs me on. I can’t see food go to waste. I drag flat boxes, buckets and baskets to fill as every last green tomato, pepper and basil leaf gets harvested.

This year the cooler, damper temperatures brought with them a flush of garden activity. Squash and cucumber plants hardly productive in August sprouted new flowers and fruit in one last effort to fulfill their task of birthing seed. These pinky thick zucchini, the quarter-sized patty pans, lemon cucumbers, the dimensions of maybe a walnut, will never reach maturity. But they are abundant, can be eaten at any stage and make wonderful bite sized pickles. 

Fermentation happens - three days in brine, notice CO2 bubbles in dill seed head

Fermentation happens - three days in brine, notice CO2 bubbles in dill seed head


End of the garden medley (where bite-sized veggies shine)

Makes one gallon

a few pounds of mixed (any combination) immature squash and cucumbers, enough to fill a gallon jar to the shoulder,
10 or more whole garlic cloves, peeled
2 tablespoons pickling spice or:
1½ teaspoons mustard seeds
1½ teaspoons whole black peppercorns
1 teaspoon coriander seed
1 teaspoon dill seed, or better a couple of fresh dill seed heads
2 bay leaves
3—4 whole hot dried red pepper such as cayenne


Prepare Brine:

3/4 cup unrefined salt

1 gallon water

optional: grape, oak, or horseradish leaves to top ferment, the tannins will help keep things crunchy


If the squash still have their blossoms, you can pickle them as well. Take care that they are still whole and not wilted. Rinse off any dirt.

You don’t want any part of the blossom if using cucumbers. Scrub them in water; take care to trim the stem and make sure the blossom end is clean as it contains an enzyme that will soften your pickle. Crush the garlic cloves slightly with the back of knife, just enough to break them.

Pack veggies into a few wide mouth jars, or a 1-gallon jar. (If using a crock, you will pack into jars later.) Mixing in garlic and all other ingredients as you go, distributing equally.
Pour the salt brine over the cucumbers. It must cover all of the vegetables.

If you do have a grape leaf or other tannin leaf, this would be the time to add it.


Place a smaller jar filled and sealed with water on top for weight. If your little future pickles are packed and wedged tightly you will not need to place a weight on top. Just cover the jar, but do not tighten lid—it needs to breathe out the CO2. If you are fermenting in a jar you can watch the process. At this point the vegetables will be an incredibly vibrant. It will look as if all the colors are magnified. As they start to ferment you will see the colors turn drab. This change is a result of the acids interacting with the chlorophyll. The brine will get cloudy–this is a normal part of the lactic acid production. If you are fermenting in a crock, no worries all this will be happening as well.

After four days of fermentation time on your counter you will have half-sours in a about six days the flavors will all be stronger and more sour.

Enjoy!