
A decade ago no one had heard of a fermentation festival as there was no such thing. And let’s be real—even if you had, you would likely have wrinkled your nose at the thought. Well most people would have, but you, dear reader are probably in the club of lover of all things fermentation. That is why you visit our pages. I thought this is a longer than usual post with more links and photos would give you a peak into the whirlwind of some of the festivals held around the country.

The first two festivals I knew of were the Freestone Fermentation Festival in California and the Reedsburg Fermentation Festival in Sauk County, Wisconsin. They both have undergone name changes—Farm to Fermentation in Santa Rosa and Reedsburg is now Fermentation Fest A Live Cultural Convergence.
Last year I had the opportunity to go the Fest in Wisconsin as a speaker. It was a fantastic event where all the definitions of culture are alive—from large art installations to good food—it was a good time. In 2011 I went to the Freestone Festival, which you can also read about way back in the early days of this blog. I had the opportunity to go back to Santa Rosa in August this year as a speaker, the season opener for me.
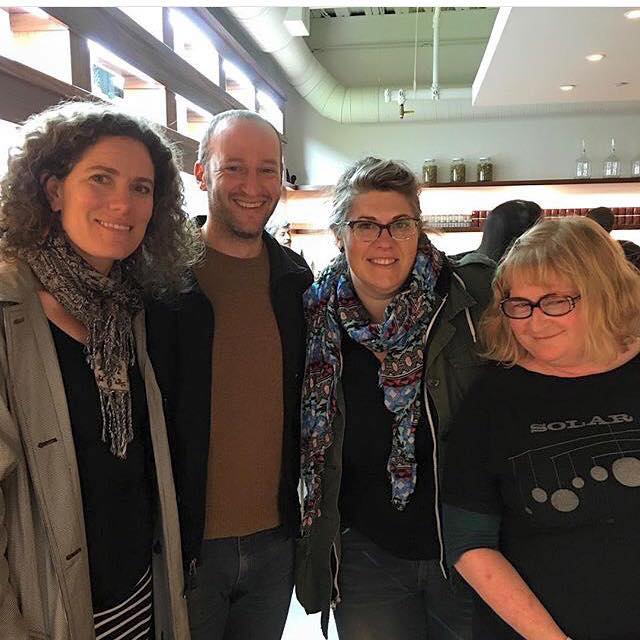
Farm to Fermentation is headed up these days by Jennifer Harris. It took place this year in a community center; the day was beautiful and I enjoyed meeting many of the folks that I have come to know virtually over the last year as part of the community of fermentistas. This includes Kate Payne (Hip Girls Guide to Homemaking), Alex Lewin (Real Food Fermentation) ) and Nicole Easterly (FARMcurious)—As a result we are doing a class together in November. This festival had a healthy wine and hard cider section, but it is Sonoma County—when in Rome as they say. (And the little tasting glasses—so cute.) I taught a chutney class and here is the recipe from the class. On a personal level I was able to visit with my bestie from college (always a soul recharge) and reconnect with our production editor of Fermented Vegetables. We hadn’t spoken since the book went into production in January of 2014 so it was fun to catch up personally but also share the ride the book has taken us on.
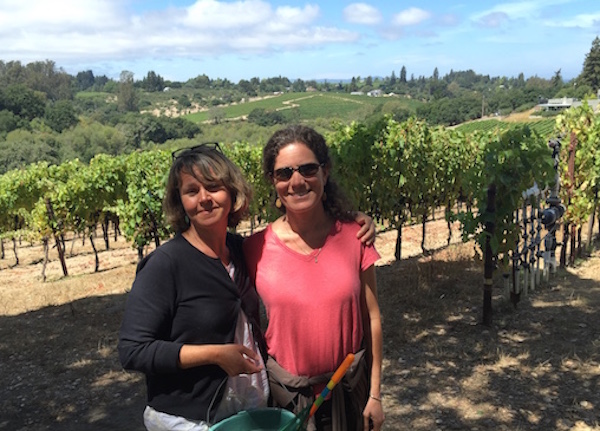
Beautiful day, walking in a vineyard with my bestie—life is good!
The first day of fall was a popular day—Oregon had its first festival and the Santa Barbara Festival happened. I had been invited to both—if only I could have cloned myself for the day. Don’t feel sorry for me though—I was in Seven Springs, PA for the Mother Earth News Fair where I continue to meet amazing people and find inspiration. I was especially touched to meet folks who already knew our work and thanked us for making vegetable fermentation approachable. I can’t quite describe the feeling when somebody says, “your book has changed my life.” Wow, right? I, in turn, was moved by the work of Tradd Cotter in the realm of mycelium. Seriously, you should check out what he is doing. Meanwhile stay tuned; I hope to write a post on his work this winter.

In case you ever wondered what the view from the speaker's stage is like about 15 minutes before the presentation. At MENF the smart folks come get their seats early so they don't have to stand in the back.

Festival goers found these fungi during early morning forays into the woods with Tradd Cotter.
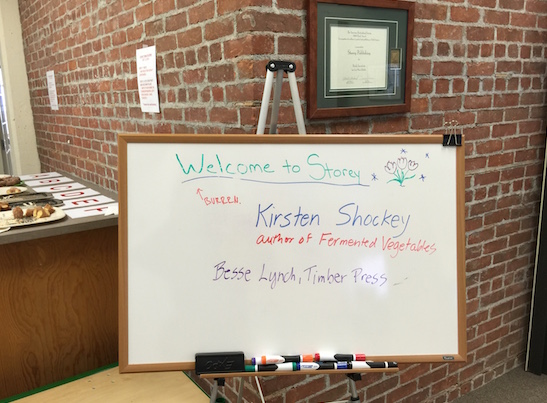
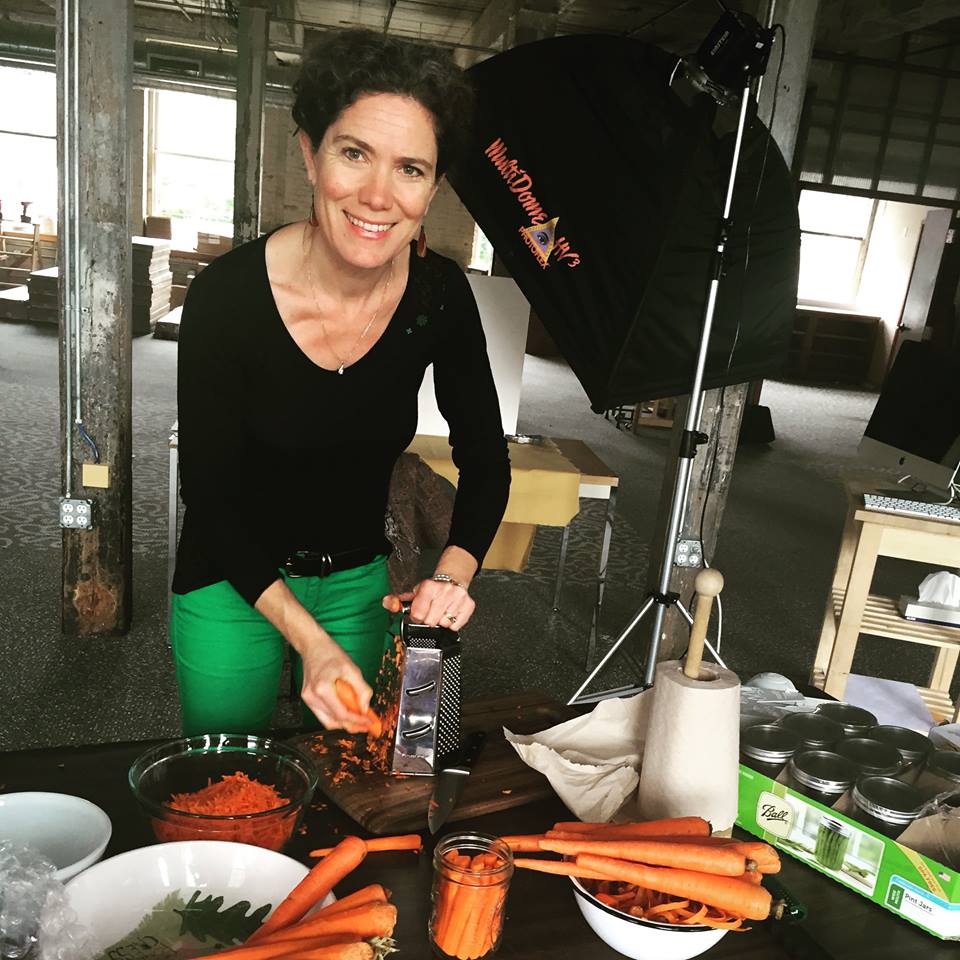
A few weeks later I was headed back across the country to the Boston Fermentation Festival. The first stop was Storey Publishing. It was fantastic to meet the good folks who put our book together and have supported it wholeheartedly. For fun we put together a little instructional video for fermenting carrots three ways.
The Boston festival is headed up by Jeremy Ogusky and a group of enthusiastic volunteers calling themselves Boston Ferments. Again one of the best parts of this was meeting more of my virtual friends in this community, Jeremy, of course. It was a pleasure to finally meet (and taste their ferments) Addie Rose and Dan from Real Pickles who contributed their Eggplant Wedding Pickle recipe to our book. I also got to visit with some fermentista divas from NYC—Michaela Hayes of Crock and Jar who contributed the amazing chocolate cake recipe to the dessert section of Fermented Vegetables, Cheryl Passwater of Contraband Ferments, and Angela Davis of Fermentation Matters.
The Boston Festival had vendors and speakers and all of the important elements of a fermentation festival but I really liked all of the places where attendees could engage and learn from the folks who have been at it awhile. The Kraut Mob gives newbies an opportunity to simply get their hands on salty veggies, the first step to making your own, which they did—and they took home the jar of future ferment to prove it.

Early morning, early adopters—not yet the mob in Kraut Mob
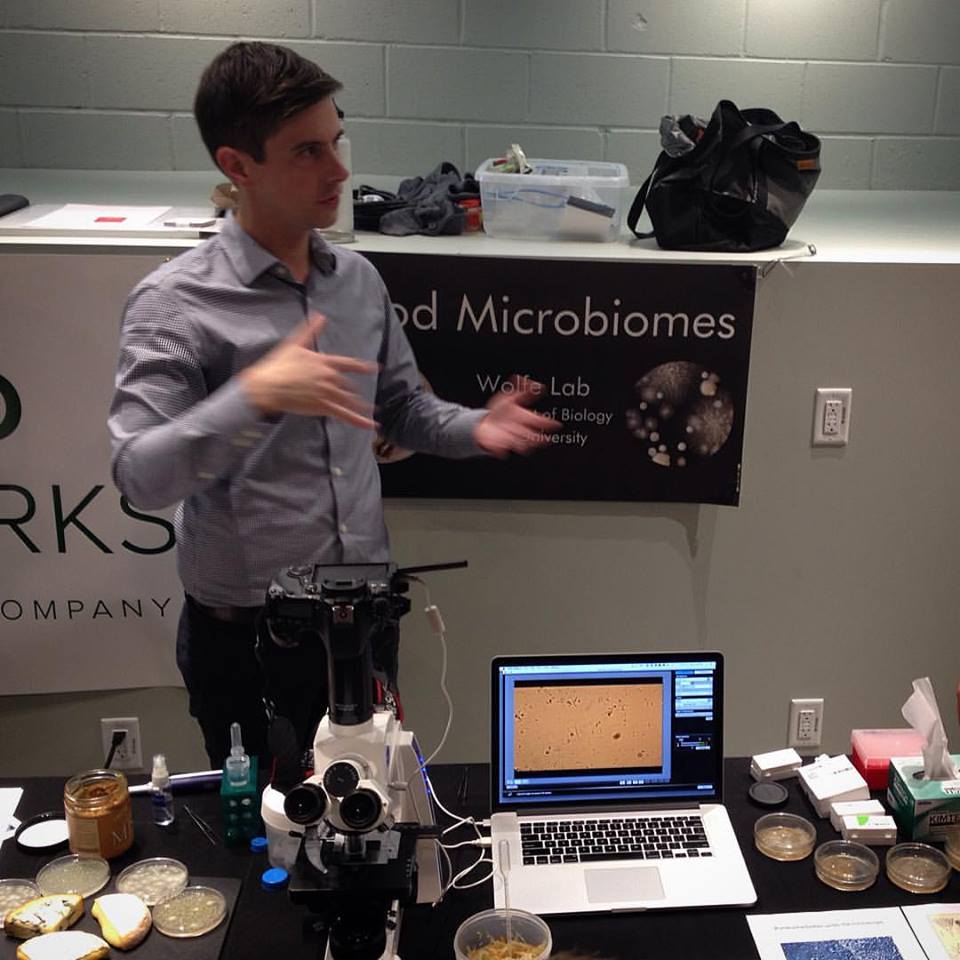
There was a help desk where experienced folks took turns answering questions. I was there with Jitti Chaithiraphant a chef and vinegar master. Our shift was early and we didn’t get a lot of questions. Secretly this was okay as I was able to learn a lot myself. For those that wanted to see these little microorganisms that we were celebrating, Ben Wolfe was there with a microscope and a head full of knowledge that he was ready to share.

Meeting fans is fun and Robyn Wight gets a prize for the furthest flung fermentista—she came from Australia just for the festival. I also had the chance to get to know Karen Solomon (Asian Pickles) at the after party—what a cool gal. I look forward to crossing paths again.
Couldn't resist sharing this parting shot of Boston. This is not touched up. WOW!

Goodbye Boston. Hello Boulder. Trail at Chautaugua Park Boulder, CO
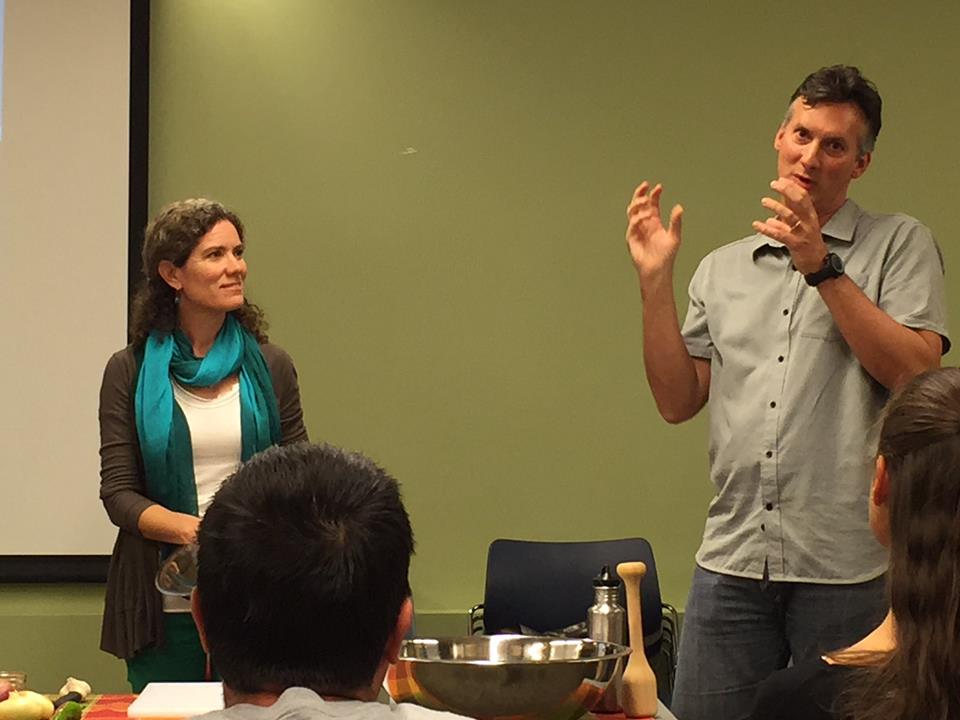
The middle of October took Christopher and me to Boulder, CO for a weeklong celebration—Cultured Colorado put together by the newly formed Cultured Foods Guild. This guild is an interesting group, if you are a fermented food enthusiast you might want to keep track of what they are up to. This festival was a little different in that it is a series of events at various venues throughout the area. Sandor Katz and I divided and conquered by each speaking at many of the events, along with a whole cadre of local makers and farmers.
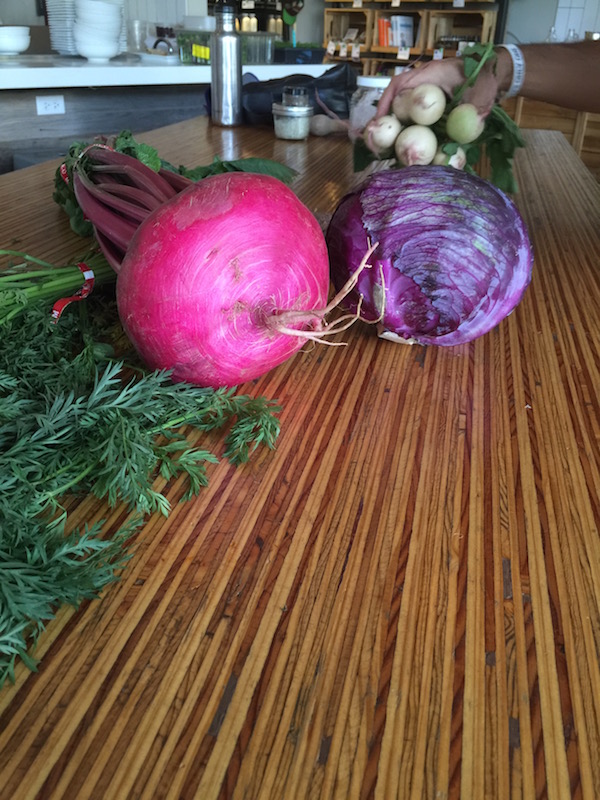

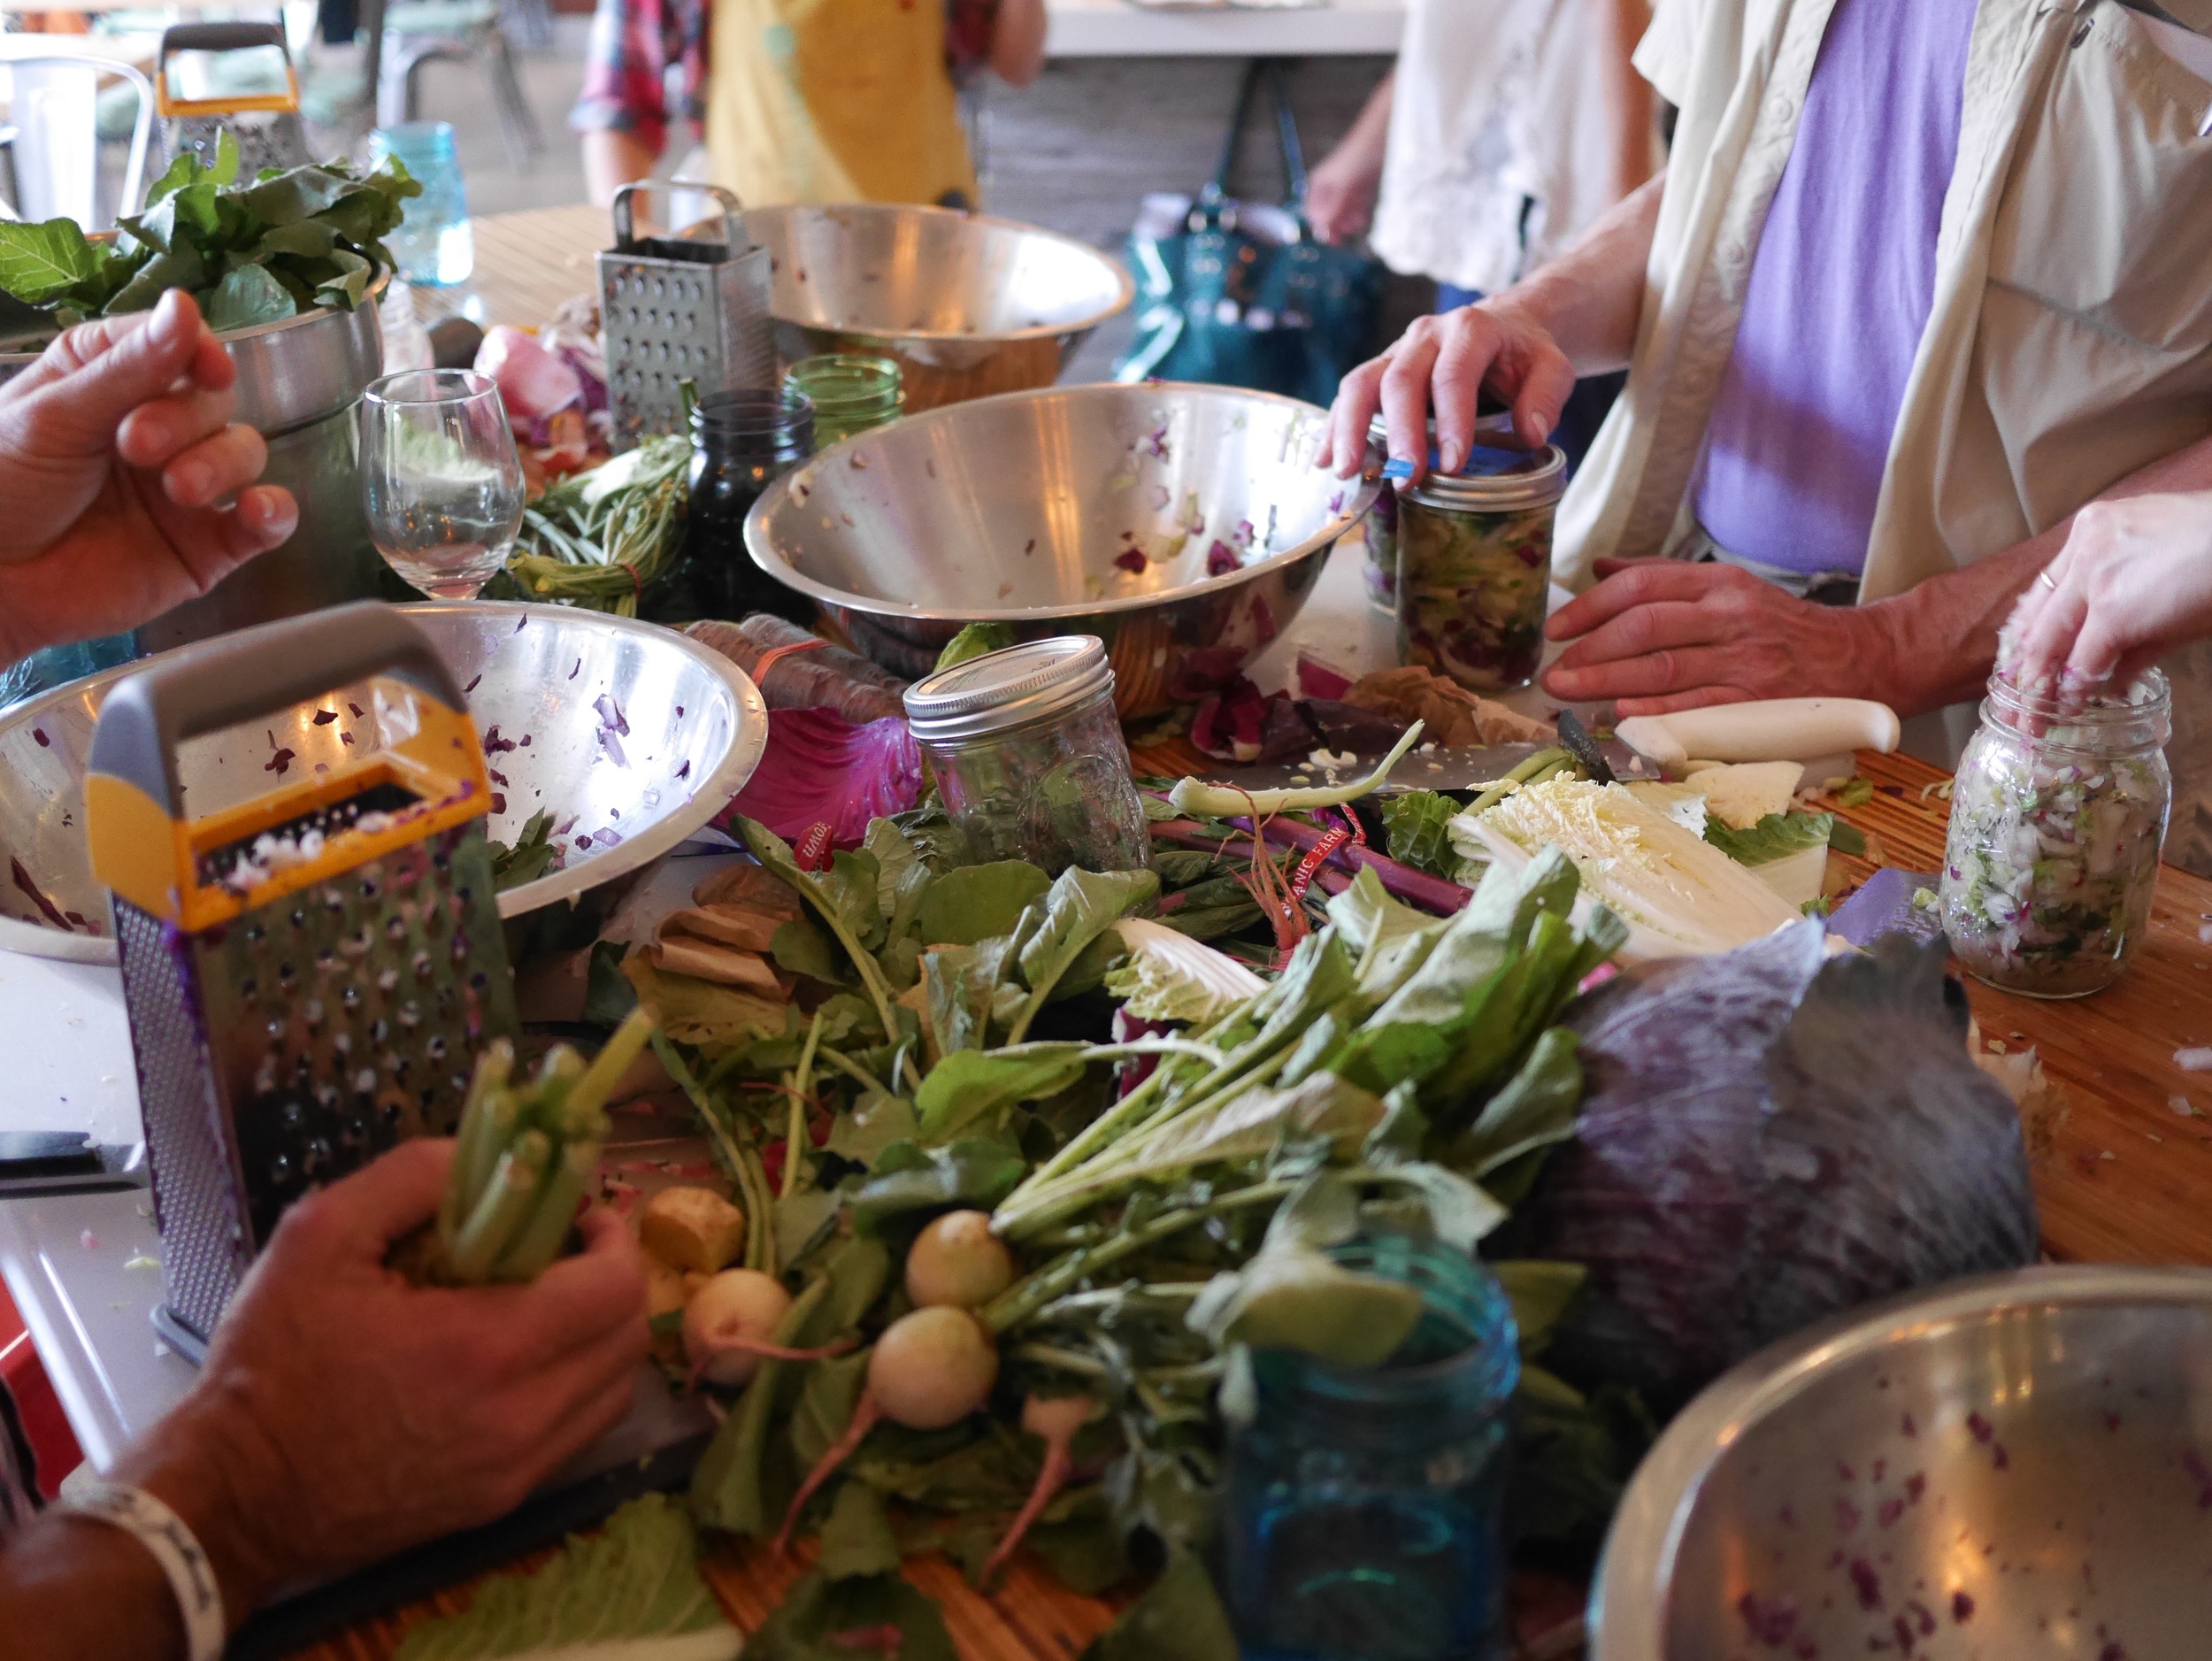
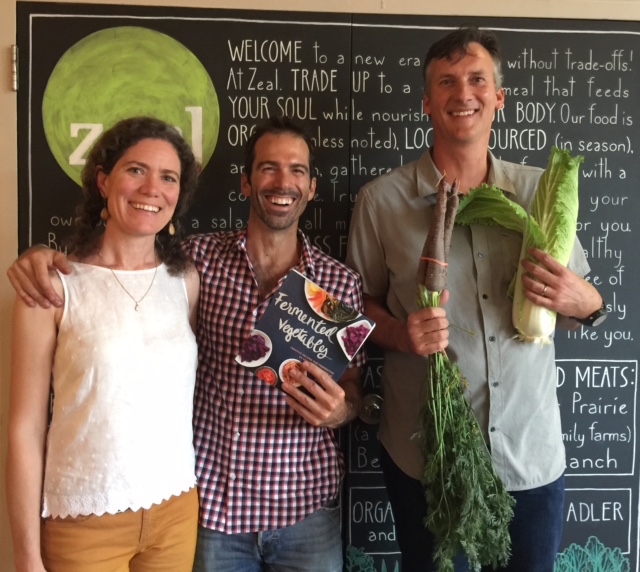
Our first event was a hands-on class at Zeal on Pearl Street. The class was in the middle of the chaos of an open kitchen and a beautiful day of doors opened to the street. If anybody knows the Russian tale of The Giant Turnip then you will know what I mean when I say I think I met that turnip at the class. Owner Wayde Jester had bought it and a beautiful array of veggies from the farmers market that afternoon, and I believe that turnip went home in a few different ferments. The energy of the location, the staff, the participants, and the Cultured Food Guild (and the vegetables) was incredible. The rest of the week flew by with an event at the Nutritional Therapy Institute in Denver, The Flatirons Food Film Festival on the CU campus, Alfalfas Market in Louisville, a fundraiser for Denver Urban Gardens, and a wonderful evening talking to the CSU Fermentation Club.
It was a lot of fun seeing the enthusiasm of students who love microorganisms! Many of the students shared that they had come to the CSU fermentation program for the beer and in the meantime discovered that fermentation has flavors to offer in all manner of foods.
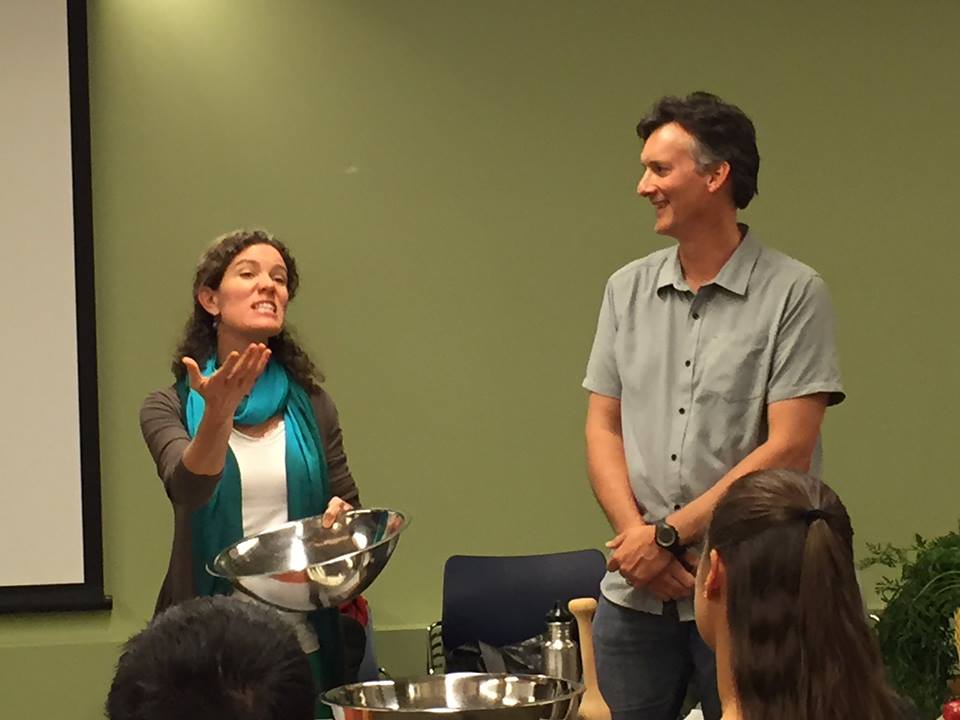
Christopher and I don't get to present together as often as we'd like. I have thought the duo provides extra entertainment beyond just fermentation. I feel these photos that were sent to us are proof.

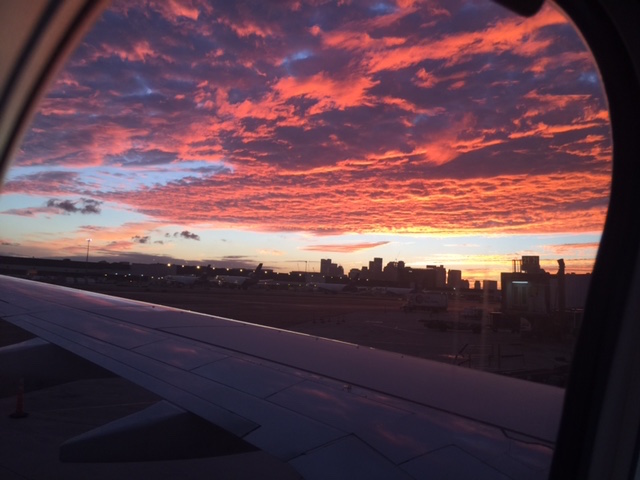
Goodbye Moon. Flying into the storm. Austin, TX
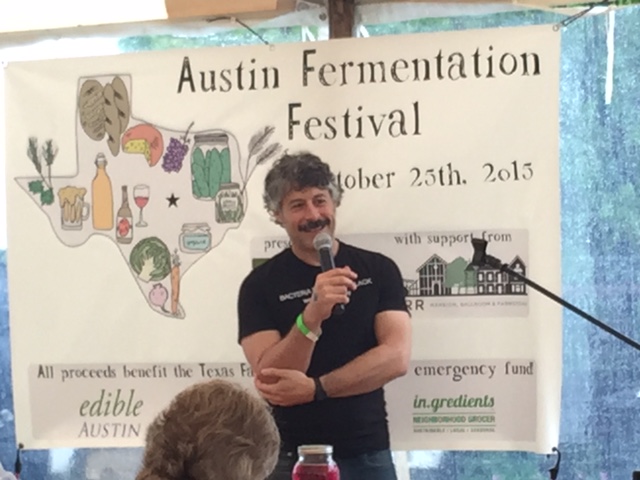
Unfortunately we didn’t get to stay for the last few events as I was on my way to Austin, TX for the Austin Fermentation Festival. (Click the link for a great photo slideshow) I flew in about the same time that Hurricane Patricia was blowing in as a downgraded tropical storm. One would think a girl from Oregon would be used to rain, but honestly it was a novelty as at that point we hadn’t seen rain since spring. (It finally rained a little this week, not enough to put water in the streams but at least the ground got wet.)
I went to two museums (a great way to spend a rainy day and what treat to have the time.) I ate some of the most amazing meals (which I did photograph but I will spare you) and I saw a friend since I had not seen since high school graduation. (Okay, that was surreal.)
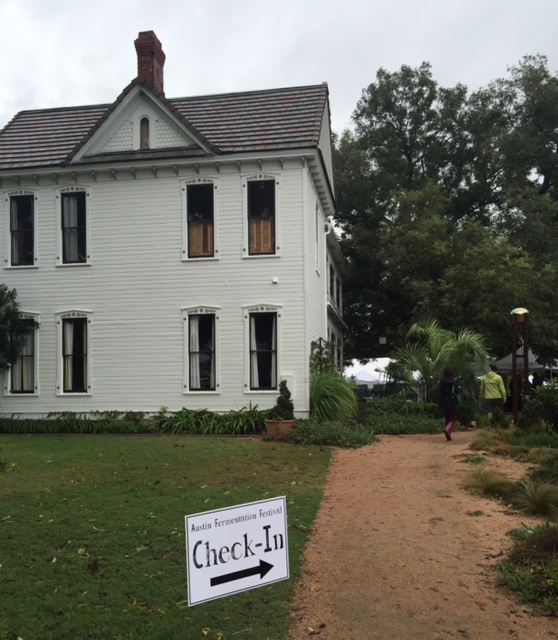
The festival was held at Barr Mansion, a beautiful mostly outdoor venue. But a Fermentation Festival must go on and it did—under tents. Participants had a chance to taste delicious local ferments, meet and talk to the makers, and catch a demonstration or two. I love talking to the makers of each region. It brings me joy to see these small local fermentation companies capturing their area’s unique flavors. Partially because I have stood on their side of the booth purveying ferments myself and partially because it is a place where I see hope for the local economies and their foodshed.
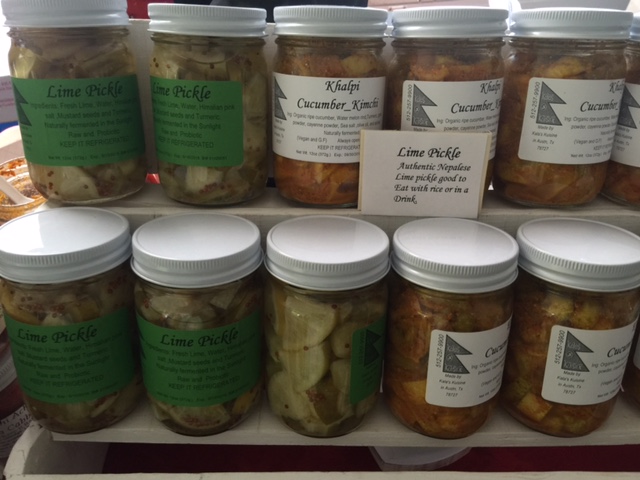
I have been studying the Himalayan fermentation tradition, so I was delighted to meet Kala of Kala’s Kuisine and taste her Nepalese and fusion ferments. I have been working on an overripe cucumber achar which I was happy to see she had brought to taste. She can only make one batch a year because nobody grows overripe cucumbers on purpose in this country, but she said that she has a local farmer who will grow them for her at the end of the season. I love that a truly local, truly regional, seasonal product is inspired by a traditional flavor from far, far away.